Tiller and nock point

Questions and answers. How to tune your bow, match those arrows and how to shoot your bow or hit the target. Its all here!

Moderator: Moderators

Post Reply
Message
Author
Finnie
Posts: 2
Joined: Tue May 29, 2012 10:27 pm
Location: Bundaberg

Tiller and nock point

#1 Post by Finnie » Mon Jun 11, 2012 10:19 pm

Hi All,

My first post, but I have been reading here for a while as I fiddled with making a "practice" bow. Great spot for info on all things traditional.

I'll call my first bow my "Bunnings special" as pretty much all the components came from that particular shed of goodies. Tas oak backed with fibreglass cornice tape and glued up with Tarzans Grip wood glue. I know, horrible stuff but I though I would make any first timer mistakes the cheap and convenient way.

To my surprise the whole lot, when mixed together, actually made a bow that shoots. However, the only way I can get (admittedly overspined carbons from my compound) arrows to not porpoise horribly is to have an incredibly high nock point.

My searching suggests that my crappy tillering has resulted in a top limb that is too weak. Can anyone confirm this is the case (i.e. do i need to shave my bottom limb and weaken it to bring my nock lower)? I know there are a long list of things that will result in perfect arrow flight, but for the time being knowing which limb to begin shaving to bring the nock to somewhere closer to centre would be great!

It's been good fun seeing if I could make a shootable bow, and my partner Kel's "holy ....!" when I showed her it worked was priceless :) Now I'd like to get the tiller to working standard, finish it, hang it, and then move on to the next one.

Any advise would be great!

Cheers,
Finnie

User avatar
Stickbow Hunter
Supporter
Supporter
Posts: 11637
Joined: Sat Jul 26, 2003 8:33 pm
Location: Maryborough Queensland

Re: Tiller and nock point

#2 Post by Stickbow Hunter » Tue Jun 12, 2012 6:16 pm

G'day Finnie and welcome to Ozbow. Congrats on making your bow.

Would you be able to post a photo of you with the bow at full draw. Draw and hold it just as you do when you shoot it and try and have the arra horizontal. This will help us see how you are holding the bow - to see if you are healing the bow etc which can put more stress on one limb or the other which will put your limbs out of time. This could be the reason for you having to use such a high nocking point.

Normally you would have your top limb bending slightly more (approx 3mm) than the bottom (positive tiller) for split finger shooting and the limbs bending even if you shoot three fingers under.

Jeff

User avatar
rmcpb
Posts: 127
Joined: Tue Oct 19, 2010 6:11 pm
Location: Blue Mountains, NSW

Re: Tiller and nock point

#3 Post by rmcpb » Tue Jun 12, 2012 6:59 pm

Welcome to Ozbow Finnie. I am in awe, I had the same theory about cheap mistakes and each time my Tassie Oak crushed on the belly side. I never got one to shooting stage.

Some photos please :)
Cheers
Rob Browne

Its OK to make a mistake,
Just try not to make the same one twice.........

Finnie
Posts: 2
Joined: Tue May 29, 2012 10:27 pm
Location: Bundaberg

Re: Tiller and nock point

#4 Post by Finnie » Thu Jun 14, 2012 9:21 pm

Hopefully the pics work...and I wouldn't worry about the quality of my work RMCPB; I reckon the draw weight I ended up with would be about 20lb!

Sorry about the quality of the pics; they are off my phone so I could do them this afternoon before it got dark. Clearly, you would have seen me given the shirt I am wearing, but it is possible the bow would have been obscured in the darkness!!!

Photos here of the bow at full draw, a profile picture, a picture of the belly, and a picture of the backing I put on.
Bow at full draw
Bow at full draw
Draw.jpg (119.91 KiB) Viewed 1667 times
profile.jpg
profile.jpg (148.54 KiB) Viewed 1667 times
belly.jpg
belly.jpg (163.33 KiB) Viewed 1667 times
Backing.jpg
Backing.jpg (133.81 KiB) Viewed 1667 times
I will be interested in your thoughts on how to tiller to lower my nock point a little. I've purposely gone for a horizontal nock here (as requested by Stickbow Hunter) - if I loosed the arrow here it would porpoise wildly and hit high of my aiming point. If i nock an inch and a half higher than this, the purpoising is minimised and the arrow hits about where I aim???

Cheers,
Finnie

longbow steve
Posts: 3116
Joined: Tue Jan 30, 2007 3:29 pm
Location: BLUE MOUNTAINS

Re: Tiller and nock point

#5 Post by longbow steve » Fri Jun 15, 2012 12:50 pm

Hey Finnie, congrats on making a shooter.
Regarding your nocking point, try a shaft with feathers on it as vanes and shooting of the shelf(especially when the spine is not matched) doesn't really mix.
The bow is whip tillered meaning it is bending more towards the tips but this is probably assisting in helping the bow stay together. Tillering for more even bend will produce a more efficient bow of the same draw weight.
Good effort I say :smile: . Steve

User avatar
Stickbow Hunter
Supporter
Supporter
Posts: 11637
Joined: Sat Jul 26, 2003 8:33 pm
Location: Maryborough Queensland

Re: Tiller and nock point

#6 Post by Stickbow Hunter » Fri Jun 15, 2012 5:16 pm

Thanks for the photos Finnie. As Steve has said the bow limbs are certainly whip ended and the top limbs appears to have a bit of a different bend in the outer half to me. However, the tips appear to be drawn back equal distance though. You aren't healing the bow so that leaves us with some other problem.

I think Steve may have already spotted it, the vanes. Those vanes look to be quite high as well which will really strike hard against the shelf which will cause the arra to porpoise badly. Give some feathers a try and see if things improve.

Jeff

Dennis La Varenne
Posts: 1776
Joined: Sun Sep 07, 2003 10:56 pm
Location: Tocumwal, NSW. Australia

Re: Tiller and nock point

#7 Post by Dennis La Varenne » Fri Jun 15, 2012 7:02 pm

Finnie,

Here are my thoughts on your problem with porpoising of your overspined arrows.

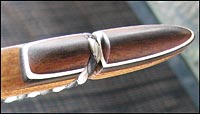
The picture of your braced bow shows that the lower limb (on the right hand side of your picture) is slightly stiffer than the upper limb on the left hand side of the same picture. Ordinarily, that would pose no shooting problems. However, in your full length drawn bow picture, something else is happening which one would not expect from the shape of the braced bow.
Draw-2.jpg
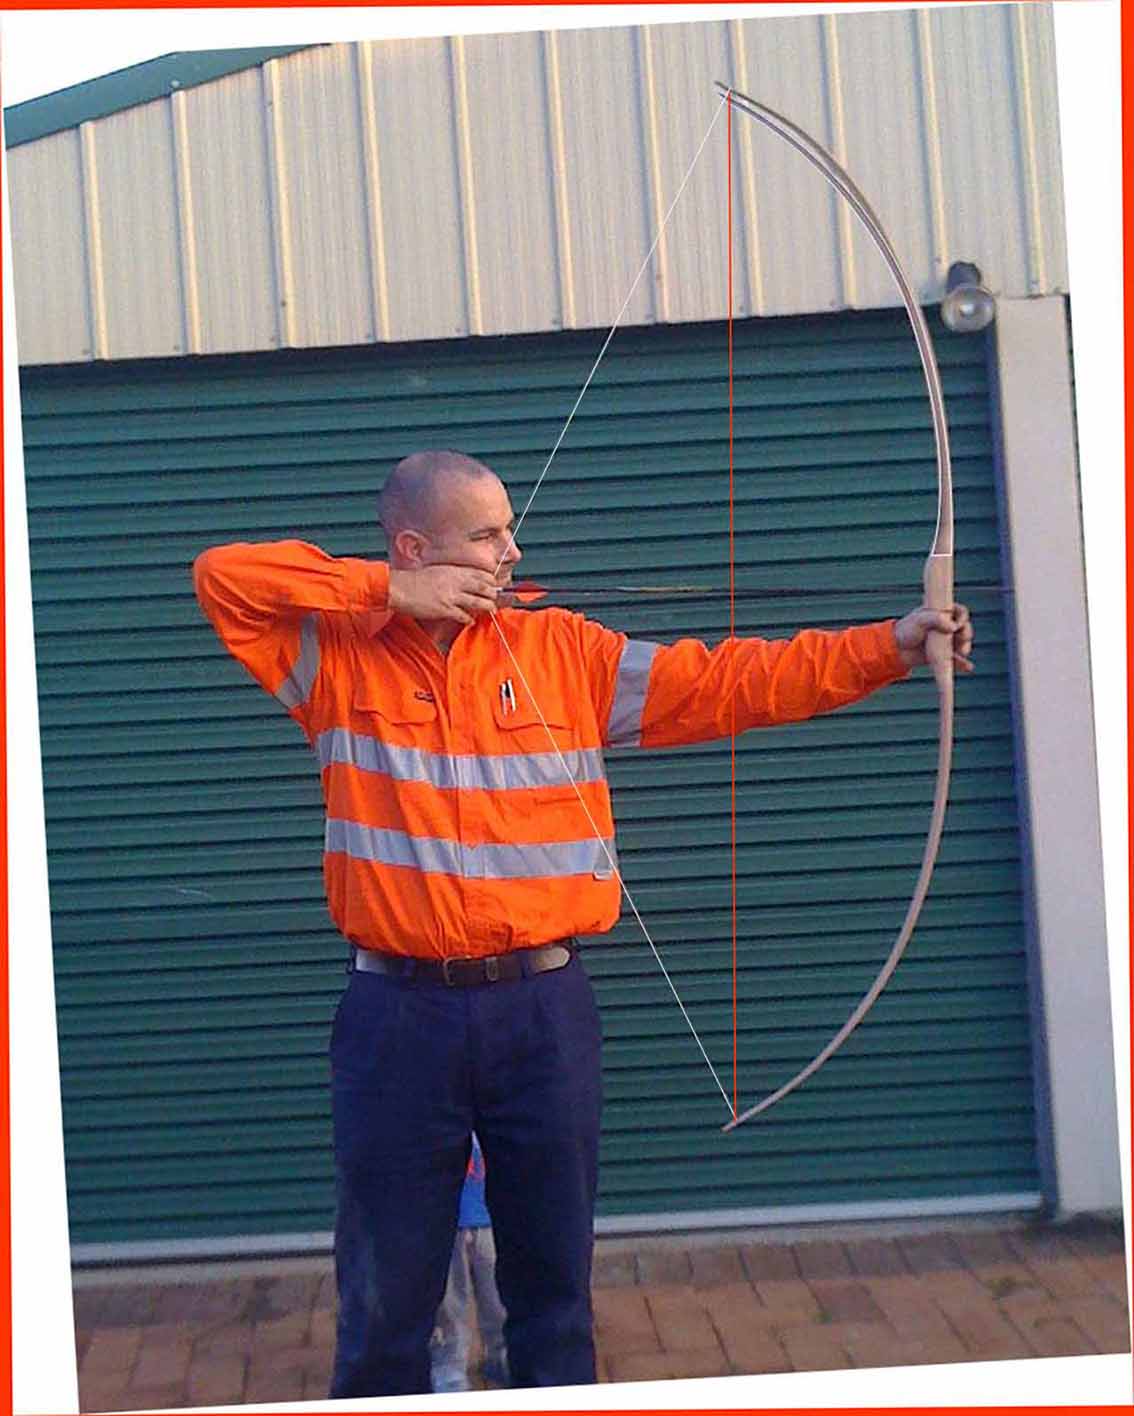
Draw-2.jpg (121.1 KiB) Viewed 1612 times
I have rotated your picture in Photoshop to place the line of the arrow in a dead horizontal position in the picture. I have over-drawn the drawn bowstrings in white for clarity and I have drawn a vertical line in red from bowtip nock to bowtip nock. This red line is at 89.7º from dead vertical which is ordinarily very good for evenness of the transfer of thrust from both limb to the arrow - meaning that both limbs are transferring thrust in the same horizontal plane.

However, I compared the shape of the drawn limbs by making a duplicate of the lower limb (white outline) and superimposing it over the upper limb.

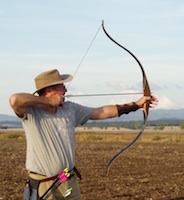
From your stance and hold, I am making a presumption that the bow is held vertically in the fashion of a compound bow, so there is very little foreshortening of either limb in the picture due to canting of the bow. The close range of the picture should obviate most of this phenomenon anyway.

The superimposed lower limb shows that the upper limb when drawn is actually slightly stiffer than the lower limb in the outer 1/2 of that limb - that is, it is bending less - making it stiffer even though it is slightly longer. It is also more whip-ended than the lower limb which you can see by the tigher arc of bend it has in the outer part. These two phenomena will cause it to behave differently to the lower limb, even though the thrust alignments are very good.

My opinion is that the whip-ended stiffer upper limb is whipping forward more quickly than the lower limb tip causing the arrows to be driven down onto the arrow shelf and causing them to bounce and hence porpoise. Their overspine should not be a porpoising issue. The excessive amount to which you need to set your nock point above the normal range is a consequence of your bow pushing the arrow nock from a higher position on the string so the arrow is lifted up and away from the shelf as it passes and doesn't bounce off it during the forward movement.

Sanding the belly of the outer part of the upper limb to weaken it slightly to match the curve of the lower limb will most likely get you over this problem. With the bow on a tiller at full draw, trace the inside shape of the lower limb onto your driveway or somewhere flat as well as the centre line of the tiller so you can place the tiller in the same position each time. As you sand more from the upper limb, keep flipping the tiller over so the upper limb lies over the tracing of your lower limb until its shape matches that of the lower limb.

At that stage, nock and shoot an arrow from reasonably normal position and see if the problem persists. I don't think it will. If the draw weight drops too much, you still have enough length in your bow to pike it an inch at each end and bring it up a couple of pounds again.

By the way, I have made 3 or 4 very light weight bows from Bunningswood with success so long as they are kept below 30lbs at least shoulder height, widish and with very flat bellies and well rounded edges. This stuff does not take kindly to compression, so you need to keep as much wood in the bow as you can where the bending is greatest and keep the tips as fine as you can to keep outer limb mass low.
Dennis La Varénne

Have the courage to argue your beliefs with conviction, but the humility to accept that you may be wrong.

QVIS CVSTODIET IPSOS CVSTODES (Who polices the police?) - DECIMVS IVNIVS IVVENALIS (Juvenal) - Satire VI, lines 347–8

What is the difference between free enterprise capitalism and organised crime?

HOMO LVPVS HOMINIS - Man is his own predator.

Post Reply