Workshop Pic's [ image heavy ]

General discussions. Politics, scuttlebutt, whatever: you're getting married, changing jobs, got a gripe or a compliment, dying to get out with the bow etc.....

Moderator: Moderators

Message
Author
dawallace45
Posts: 352
Joined: Fri Aug 13, 2004 7:16 pm
Location: Miriam Vale Queensland Australia

Workshop Pic's [ image heavy ]

#1 Post by dawallace45 » Mon Sep 07, 2009 7:58 am

In the past I've been involved in forums where one of the favorite posts was one of workshop pictures , it's always good to see how other people setup their workshops to give us ideas as how to better our own , so I thought I'd give it a go here and see if I can get people interested in posting pictures of their work areas , my shop isn't finished and I still need some more storage and tools , next on my agenda is a big Linisher and a Jointer , my shop covers a area of 138 sq metres , I have a shower and toilet and a separate reloading room , I do most of my messier stuff outside in the covered work area , I have a storage area of 9m x 2m , most of my building is either boat , bow or house related and I do have thoughts of building a house boat some time in the future .

So how about posting pictures of your workshops , they don't have to be big , some of the best ones I've seen in the past have been small , here is mine to start it off

<Image

Image

Image

Image

Image

Image

Image

Image

Image

Image

Image

Image

David

dawallace45
Posts: 352
Joined: Fri Aug 13, 2004 7:16 pm
Location: Miriam Vale Queensland Australia

Re: Workshop Pic's [ image heavy ]

#2 Post by dawallace45 » Mon Sep 07, 2009 8:03 am

Brett Finger already thinks I suffer from OCD and he hasn't seen my workshop yet , wonder what his response is now . LOL

David

User avatar
Gringa Bows
Posts: 6331
Joined: Thu Aug 30, 2007 7:09 pm
Location: Bundaberg QLD

Re: Workshop Pic's [ image heavy ]

#3 Post by Gringa Bows » Mon Sep 07, 2009 8:11 am

your workshop is too neat and clean, when i get back i'll show you what a work area looks like :lol: ...........Rod

User avatar
otis.drum
Posts: 972
Joined: Wed Jan 28, 2009 5:30 am
Location: cape york

Re: Workshop Pic's [ image heavy ]

#4 Post by otis.drum » Mon Sep 07, 2009 8:38 am

i'm too shamed to show my tiny messy work area after seeing that beautifully laid out and clean workshop.

nice set up!
...otis...

dawallace45
Posts: 352
Joined: Fri Aug 13, 2004 7:16 pm
Location: Miriam Vale Queensland Australia

Re: Workshop Pic's [ image heavy ]

#5 Post by dawallace45 » Mon Sep 07, 2009 9:59 am

Rod / Otis
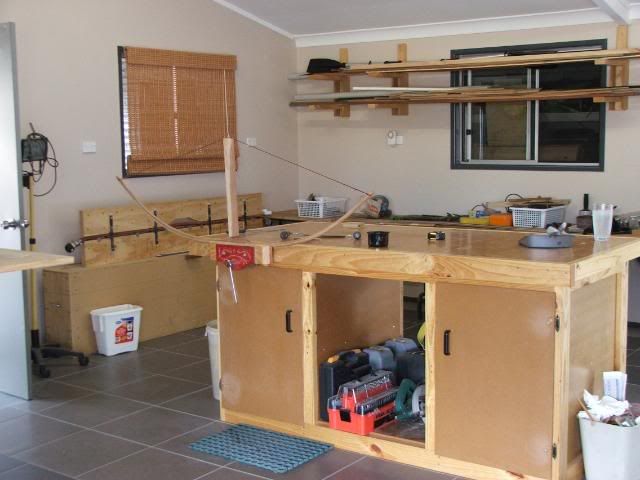
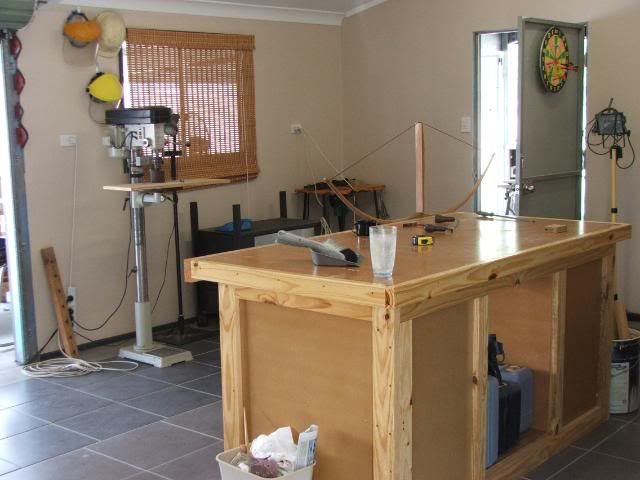
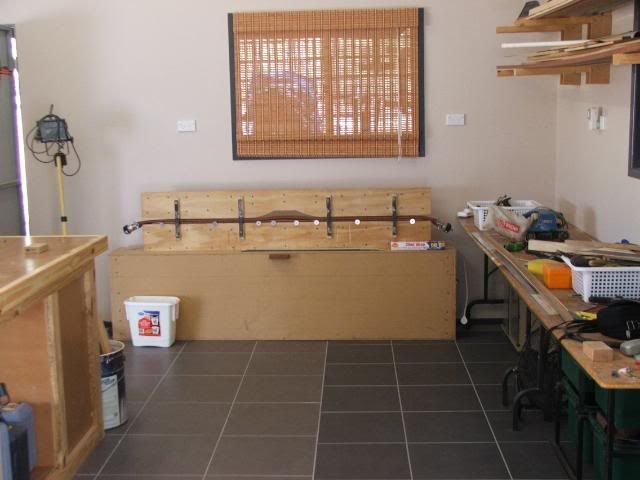
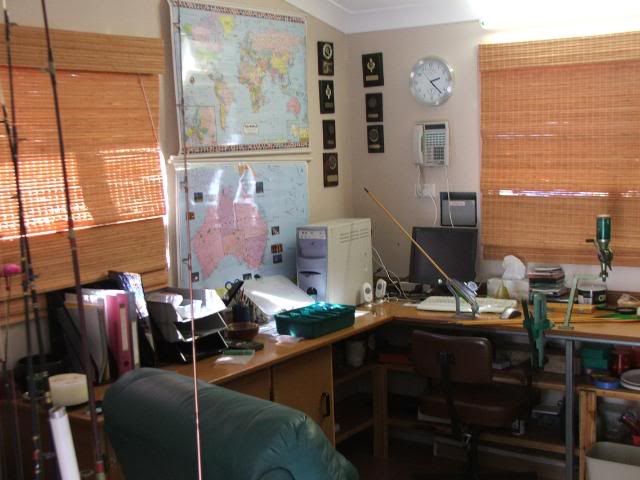
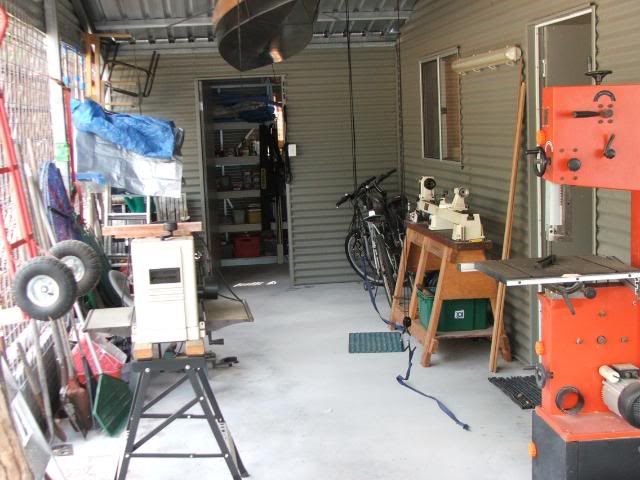
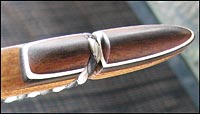
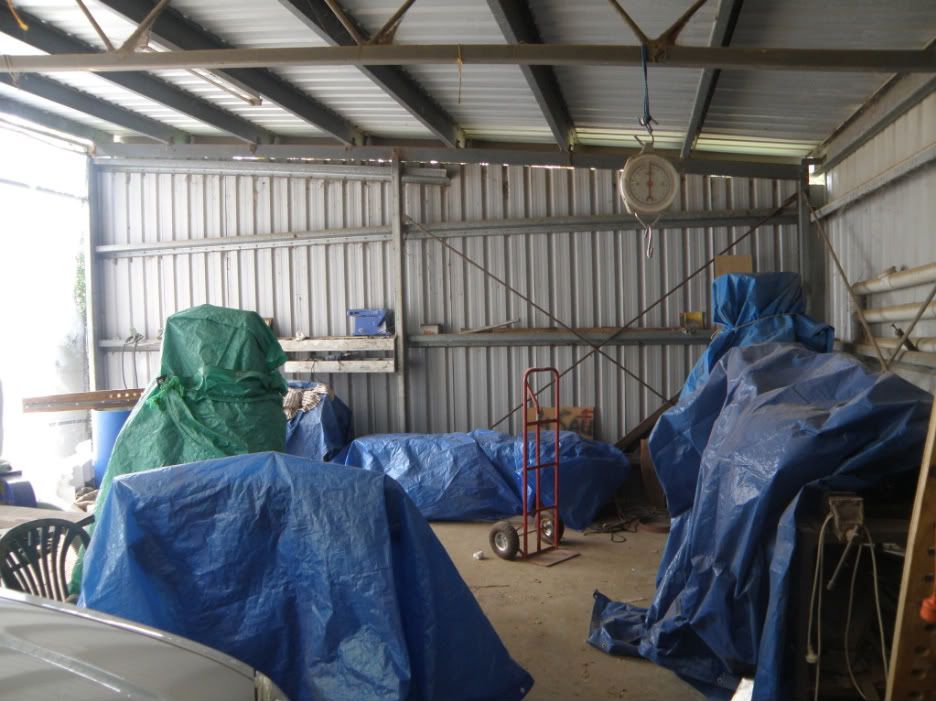
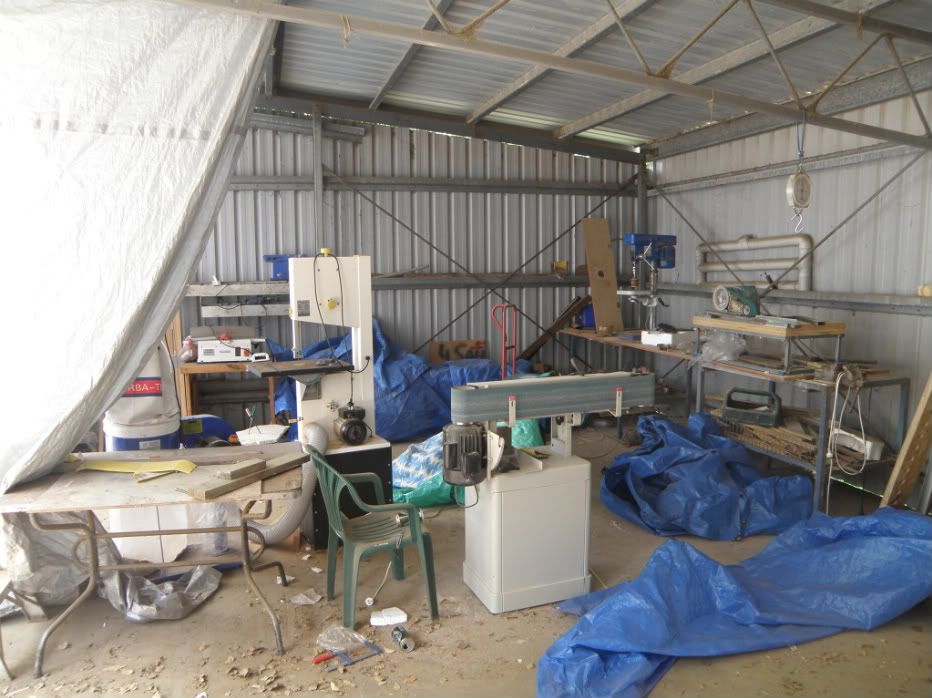
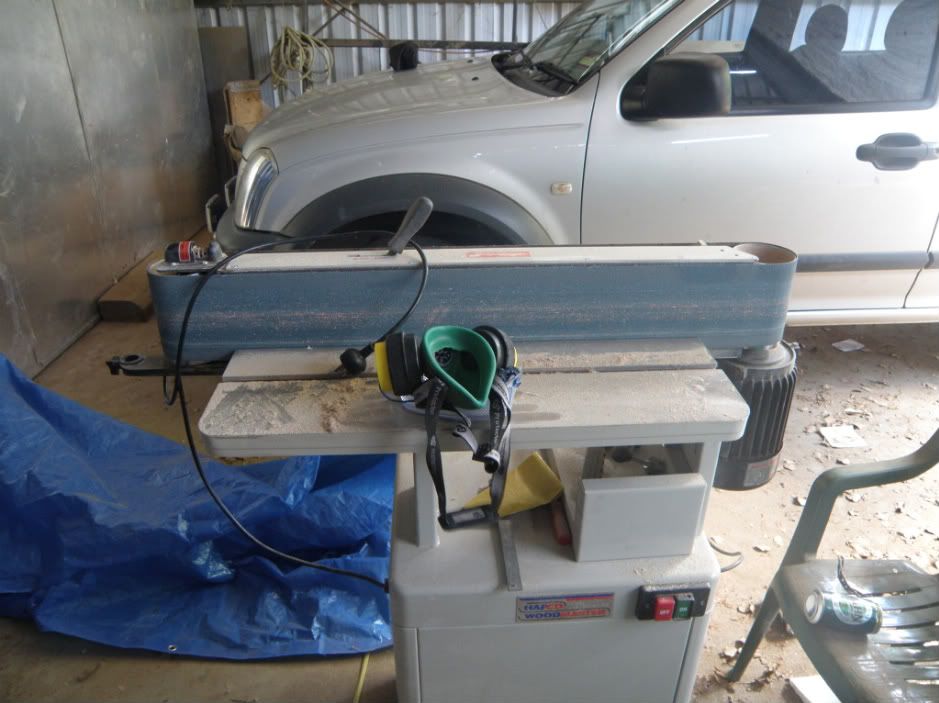
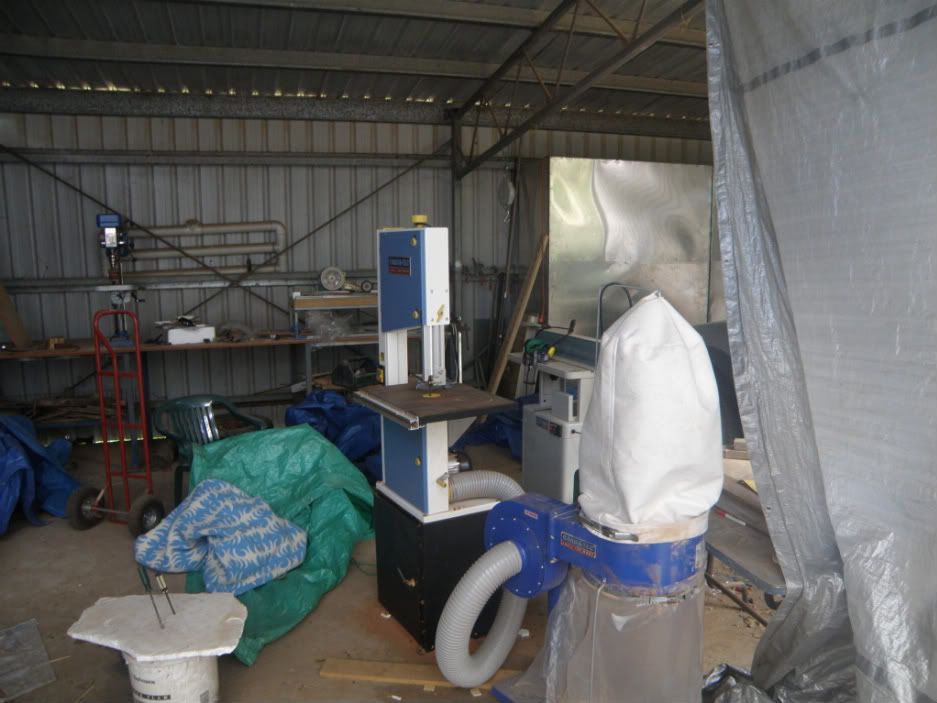
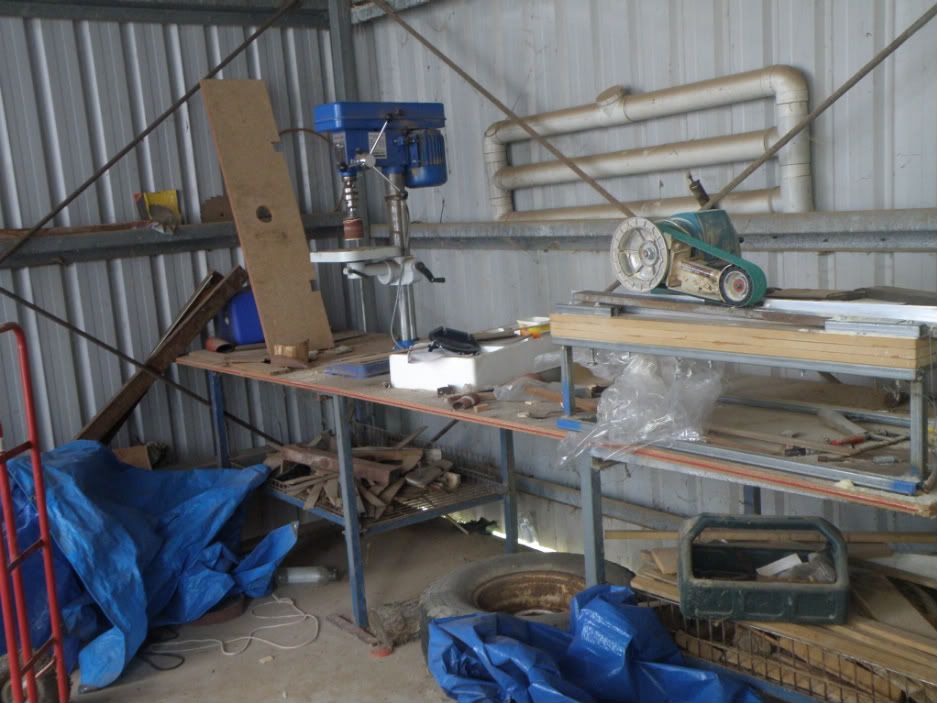
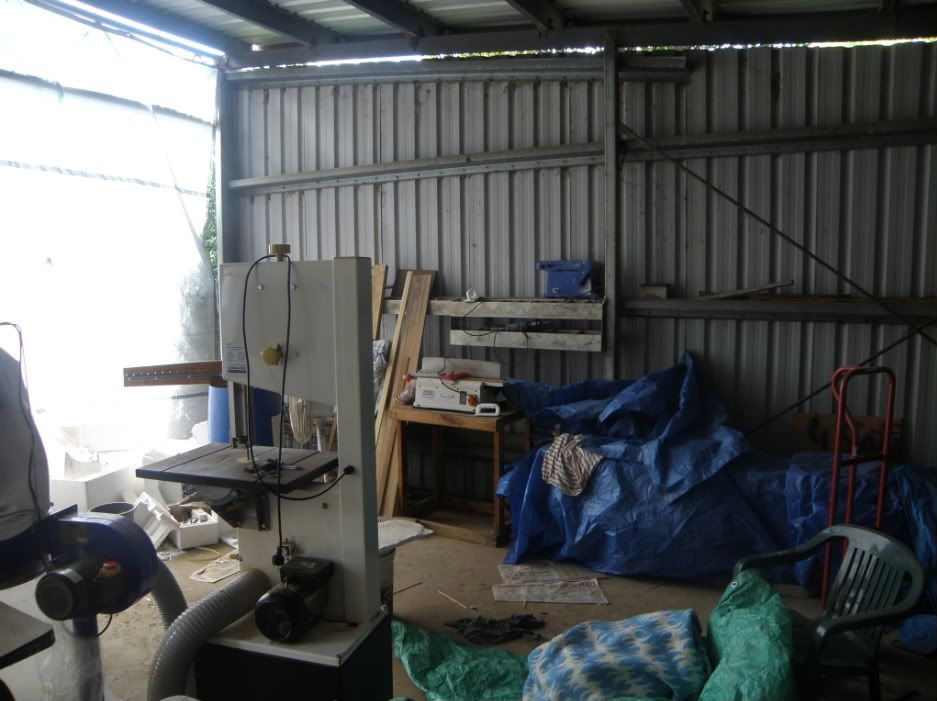
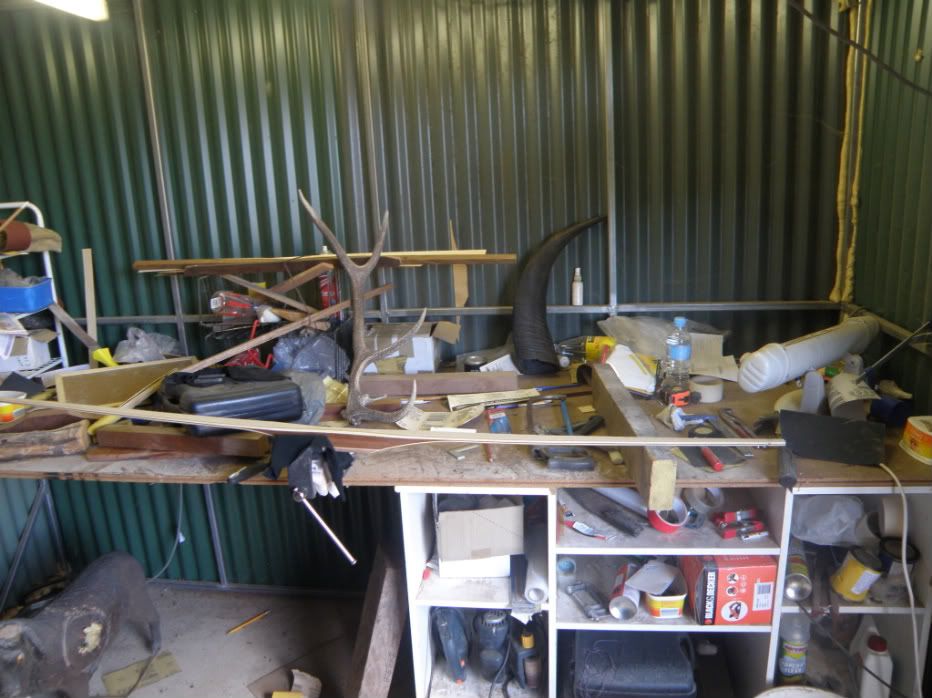
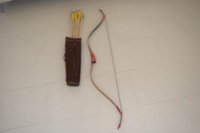
I'm far from neat and tidy , I work in this shop almost every day and I make lots of mess , I clean up once a week , the workshop is lined and tiled to make cleaning up easier , yesterday morning the sawdust and shavings were almost ankle deep from that bow I was making [ about a hour after that pic was taken the bow suffered spontaneous dis assembly while final tillering ] after a week I have so much crap around I can no longer find any thing .

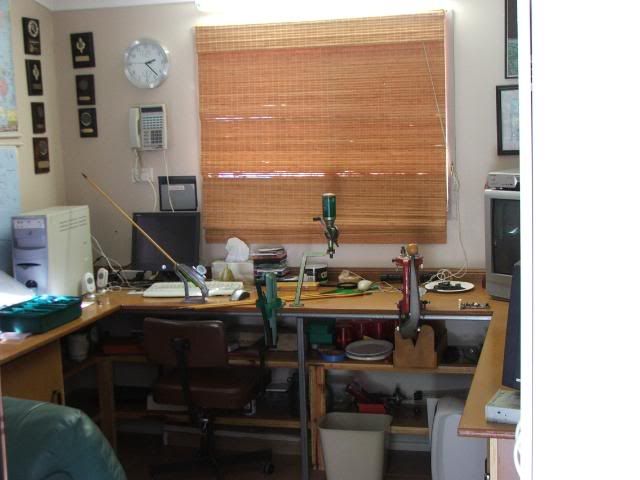
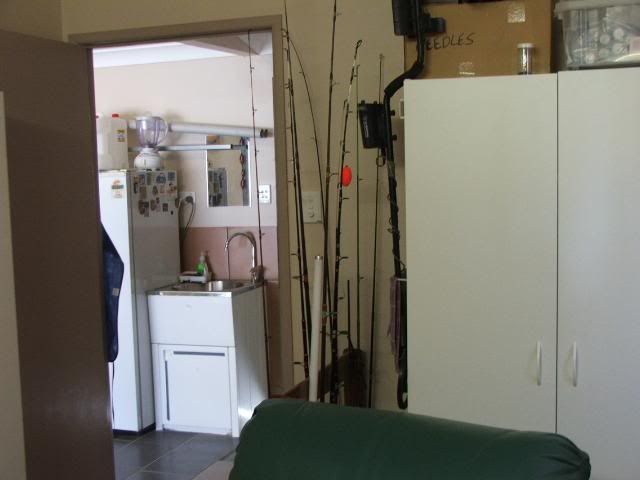
Also just out of the picture is my fridge , hot plate and kettle , the chair in the reloading room is a recliner and I've actually slept there rather than going up to the house a few times when my wife is away

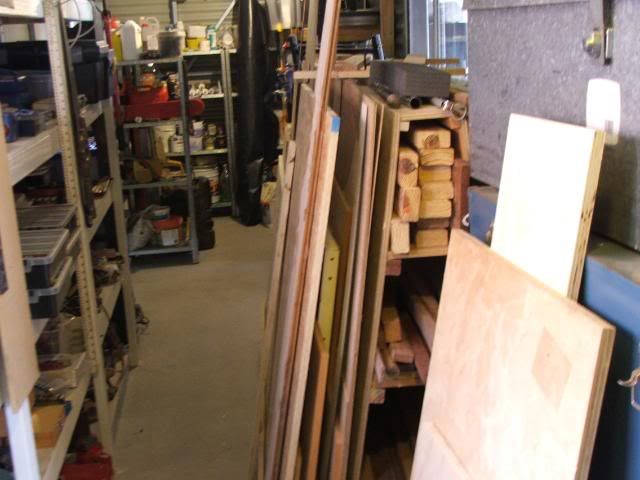
My wife is a neatness freak and hates clutter , I on the other hand hate to throw things away because they may come in handy some day , of course when you finally want that thing you will have so much crap to go through you won't be able to find it and have to go buy a new one any way and after almost 52 years I realise this and every so often I get my wife to go through every thing in the workshop and be ruthless , my wife reckons if you haven't used it in a year then you don't need it and it's best to get rid of it , this has it's down side , I often go to the cupboard and go to get a pan or dish and can't find it , I ask my wife what happened to it and she says " I never use it so I gave it to your mother " , my response is for her to remember that the reason she wouldn't have used it is because I do all the cooking and that was one of the pans I used the most , but in most ways her idea to live clutter free is the best way and has finaly rubbed off to some degree

Otis , some of the best workshops I've seen have been tiny , one I've seen posted on another site would fit into a toilet cubicle , you get ideas from every one , that is why I've liked the workshop post in the past

David

User avatar
pdccr
Posts: 1285
Joined: Sun Jan 25, 2009 7:07 pm
Location: Mackay

Re: Workshop Pic's [ image heavy ]

#6 Post by pdccr » Mon Sep 07, 2009 10:21 am

My workshop is still in the making, i had some pics but dont have many anymore. I post some up to show you how neat mine is :lol:
Image022.jpg
Image022.jpg (73.56 KiB) Viewed 3222 times
Image025.jpg
Image025.jpg (97.48 KiB) Viewed 3222 times
Image026.jpg
Image026.jpg (61.93 KiB) Viewed 3222 times
Looks a bit better now. I will take some pics next week.
Cheers, Toby

longbowinfected
Posts: 2040
Joined: Thu Jul 12, 2007 5:42 pm

Re: Workshop Pic's [ image heavy ]

#7 Post by longbowinfected » Mon Sep 07, 2009 10:27 am

You both are sick. Too much time on your hands.
I am jealous of something I could never achieve.

Kevin
never complain....you did not have to wake up....every day is an extra bonus and costs nothing.

dawallace45
Posts: 352
Joined: Fri Aug 13, 2004 7:16 pm
Location: Miriam Vale Queensland Australia

Re: Workshop Pic's [ image heavy ]

#8 Post by dawallace45 » Mon Sep 07, 2009 11:07 am

Toby

I'm Jealous , That is a nice stack of timber , what sort is it

Kevin
Got to keep busy

David

User avatar
pdccr
Posts: 1285
Joined: Sun Jan 25, 2009 7:07 pm
Location: Mackay

Re: Workshop Pic's [ image heavy ]

#9 Post by pdccr » Mon Sep 07, 2009 12:06 pm

Its a very nice stack of timber, full of silver qaundong, ash ( vic/mountain ), mackay cedar, red cedar, blue gum, spotted gum, pine and some other exotics like tasmanian pine, supposedly never decays, its protected now but i have 2 pieces that are over 80+ old and they look like they have been freshly sawn.

Its coming along, last month i spent a whole week sorting the timber out and giving everything a place. Just the other day i was looking for something and remembered i threw it out. Such a shame.
Cheers, Toby

dawallace45
Posts: 352
Joined: Fri Aug 13, 2004 7:16 pm
Location: Miriam Vale Queensland Australia

Re: Workshop Pic's [ image heavy ]

#10 Post by dawallace45 » Mon Sep 07, 2009 12:58 pm

Toby

Now I'm really jealous

David

User avatar
pdccr
Posts: 1285
Joined: Sun Jan 25, 2009 7:07 pm
Location: Mackay

Re: Workshop Pic's [ image heavy ]

#11 Post by pdccr » Mon Sep 07, 2009 1:24 pm

:lol: Alot of it was warped so it was hard to stack neatly, after a bit of strapping i got them all sorted, in nice little piles. Also made it so we could use the forklift to move it in and out of the shed. Cleaned up 5 dinhgies and have them in the spare coldroom. Makes the whole area feel so empty with all the wood on the racks.

I am looking at making a solid wooden working bench and i need some plans, i have a metal one but its has been welded to a slab of metal in the floor in the corner, hard to move around it and it gets crowded. I like the look of your work bench but how solid is it? I need some more storage ideas aswell. I like the wooden racks you have for timber.
Cheers, Toby

dawallace45
Posts: 352
Joined: Fri Aug 13, 2004 7:16 pm
Location: Miriam Vale Queensland Australia

Re: Workshop Pic's [ image heavy ]

#12 Post by dawallace45 » Mon Sep 07, 2009 2:25 pm

Toby

The work bench is pretty solid , it stands 950mm high and is 1000mm x 1950mm , the top is made up from 3 sheets of 18mm MDF , it takes 4 large men and a hernia just to drag it , I drew up the plans on my cad program but lost them when the old computer Harddrive died , I have the timber rack for long pieces in the main workshop area and the A frame rack in the storage area , that one is probably one of the handiest things I've made , it's on wheels so I can get to the sheet goods on each side , great for a hobby boat and kayak builder who has to store lots of marine ply , again the plan was lost when the old drive died

David

User avatar
pdccr
Posts: 1285
Joined: Sun Jan 25, 2009 7:07 pm
Location: Mackay

Re: Workshop Pic's [ image heavy ]

#13 Post by pdccr » Mon Sep 07, 2009 3:32 pm

:lol: must be a good table. For the legs, did you use mortice and tenant joints? Or just a simple glue and screw? I started sketching some plans so i will look and see how it looks. I recently made a little coffee table out of pine and used mortice and tenants joints and it came out beautifully.

Heres a pic.
27.jpg
27.jpg (86.81 KiB) Viewed 3178 times
22.jpg
22.jpg (65.52 KiB) Viewed 3178 times

I could use that joint or i could just use the screw and glue one, probably go with screw and glue as it will be easier and i could reinforce it.
Cheers, Toby

User avatar
Stickbow Hunter
Supporter
Supporter
Posts: 11637
Joined: Sat Jul 26, 2003 8:33 pm
Location: Maryborough Queensland

Re: Workshop Pic's [ image heavy ]

#14 Post by Stickbow Hunter » Mon Sep 07, 2009 4:17 pm

Dave,

You have one fancy workshop and it is an excellent size. :shock: Better than mine but if I got rid of all the clutter I would have more room and could actually work in it. :D

Toby, use good solid material in your workbench so it doesnt move. Mine is made from all hardwood with the top being 2" thick Spotted Gum - see attached pic.

Jeff
Attachments
Workshop 1.jpg
Workshop 1.jpg (116.09 KiB) Viewed 3173 times

User avatar
pdccr
Posts: 1285
Joined: Sun Jan 25, 2009 7:07 pm
Location: Mackay

Re: Workshop Pic's [ image heavy ]

#15 Post by pdccr » Mon Sep 07, 2009 8:57 pm

I have one like that except i couldn't be bothered screwing big *** screws through 2" blue gum and 3" steel. I also need a new vice.

Is that a riser template i see hanging on the wall? Thats a good idea.
Cheers, Toby

User avatar
Stickbow Hunter
Supporter
Supporter
Posts: 11637
Joined: Sat Jul 26, 2003 8:33 pm
Location: Maryborough Queensland

Re: Workshop Pic's [ image heavy ]

#16 Post by Stickbow Hunter » Mon Sep 07, 2009 9:42 pm

Is that a riser template i see hanging on the wall?
Yes mate it is and it's had many years of use. :D

Jeff

User avatar
pdccr
Posts: 1285
Joined: Sun Jan 25, 2009 7:07 pm
Location: Mackay

Re: Workshop Pic's [ image heavy ]

#17 Post by pdccr » Tue Sep 08, 2009 8:03 am

Thats a good idea jeff, very practical. Could you give the rough dimensions?
Cheers, Toby

User avatar
Stickbow Hunter
Supporter
Supporter
Posts: 11637
Joined: Sat Jul 26, 2003 8:33 pm
Location: Maryborough Queensland

Re: Workshop Pic's [ image heavy ]

#18 Post by Stickbow Hunter » Tue Sep 08, 2009 9:37 am

Toby,

You really have to shape it to suit the type of bow you want it for. That one is 16" long and the curve is just what ever you like the look of. On the belly side I make it a length that, when I have finished shaping the handle, results in it being just over 4".

Jeff

User avatar
pdccr
Posts: 1285
Joined: Sun Jan 25, 2009 7:07 pm
Location: Mackay

Re: Workshop Pic's [ image heavy ]

#19 Post by pdccr » Tue Sep 08, 2009 10:17 am

Ok thanks for that jeff.
Cheers, Toby

dawallace45
Posts: 352
Joined: Fri Aug 13, 2004 7:16 pm
Location: Miriam Vale Queensland Australia

Re: Workshop Pic's [ image heavy ]

#20 Post by dawallace45 » Wed Sep 09, 2009 7:31 am

Toby

While I have used Mortice and tenon and also dowels in the past I now mainly use my pocket hole jig for furniture , for the bench the frame is made up of 90x35 studs and have glued and screwed and used pocket holes in such a way to make it much stronger than I could with just mortice and tenon alone , I use Titebond 3 for every job with wood

Jeff

Yeah mate I remember your workshop , all those bows and that bloody big motorbike right in the front so you can't get into it . LOL

Wish I had that belt sander of yours , in my last workshop I had all the tools I used every day hanging on a peg board behind the bench , but in the end I had so many tools hanging there I still couldn't find any thing , been thinking of putting some pegs on the ends of my bench to take the files and rasps I use daily

David

User avatar
Stickbow Hunter
Supporter
Supporter
Posts: 11637
Joined: Sat Jul 26, 2003 8:33 pm
Location: Maryborough Queensland

Re: Workshop Pic's [ image heavy ]

#21 Post by Stickbow Hunter » Wed Sep 09, 2009 9:19 am

Yeah mate I remember your workshop , all those bows and that bloody big motorbike right in the front so you can't get into it . LOL
Yeah Dave and it's still there along with a lot of other stuff. :oops: :lol:

I have to find my way in there real soon though and make some room so I can actually use it as a workshop again. :D

Jeff

User avatar
otis.drum
Posts: 972
Joined: Wed Jan 28, 2009 5:30 am
Location: cape york

Re: Workshop Pic's [ image heavy ]

#22 Post by otis.drum » Wed Sep 09, 2009 12:14 pm

my humble workshop :D
Attachments
P9090018.JPG
P9090018.JPG (124.62 KiB) Viewed 3089 times
P9090017.JPG
P9090017.JPG (152.12 KiB) Viewed 3089 times
P9090016.JPG
P9090016.JPG (148.14 KiB) Viewed 3089 times
P9090014.JPG
P9090014.JPG (148.37 KiB) Viewed 3089 times
...otis...

User avatar
pdccr
Posts: 1285
Joined: Sun Jan 25, 2009 7:07 pm
Location: Mackay

Re: Workshop Pic's [ image heavy ]

#23 Post by pdccr » Wed Sep 09, 2009 1:29 pm

Funny how the most humble of workshops can produce some of the finest quality :lol: Is that floor boards i see in the first picture? I also like your arrow shafts.
Cheers, Toby

User avatar
otis.drum
Posts: 972
Joined: Wed Jan 28, 2009 5:30 am
Location: cape york

Re: Workshop Pic's [ image heavy ]

#24 Post by otis.drum » Wed Sep 09, 2009 2:25 pm

those are lams cut and sanded ready to go. they are from tulip oak (crows foot elm) floorboards.
...otis...

User avatar
pdccr
Posts: 1285
Joined: Sun Jan 25, 2009 7:07 pm
Location: Mackay

Re: Workshop Pic's [ image heavy ]

#25 Post by pdccr » Wed Sep 09, 2009 5:16 pm

Thats a good idea. I dont see a saw in your shop? How did you make those lams?
Cheers, Toby

User avatar
otis.drum
Posts: 972
Joined: Wed Jan 28, 2009 5:30 am
Location: cape york

Re: Workshop Pic's [ image heavy ]

#26 Post by otis.drum » Wed Sep 09, 2009 6:30 pm

i sand them by hand :D

i go to a local blokes place and use his gear.
...otis...

User avatar
pdccr
Posts: 1285
Joined: Sun Jan 25, 2009 7:07 pm
Location: Mackay

Re: Workshop Pic's [ image heavy ]

#27 Post by pdccr » Wed Sep 09, 2009 6:50 pm

Ah ok. Bit of work using the old hand saw eh :lol:
Cheers, Toby

User avatar
ichiban
Posts: 788
Joined: Mon May 19, 2008 1:16 pm
Location: canberra

Re: Workshop Pic's [ image heavy ]

#28 Post by ichiban » Sun Sep 13, 2009 4:11 pm

did u guys ever know that i love you and that its nice to give things to those less fortunate? nah very nice set ups i would show mine but the dust has taken over....
Im gonna make it bend and break-Fall Out Boy

User avatar
pdccr
Posts: 1285
Joined: Sun Jan 25, 2009 7:07 pm
Location: Mackay

Re: Workshop Pic's [ image heavy ]

#29 Post by pdccr » Sun Sep 13, 2009 4:22 pm

ichiban wrote:did u guys ever know that i love you and that its nice to give things to those less fortunate? nah very nice set ups i would show mine but the dust has taken over....
:lol: Your gonna need to be a bit more truthful on that one dave. I had to get the air gun into mine before you could see anything. Lets see it anyway please 8)
Cheers, Toby

User avatar
Gringa Bows
Posts: 6331
Joined: Thu Aug 30, 2007 7:09 pm
Location: Bundaberg QLD

Re: Workshop Pic's [ image heavy ]

#30 Post by Gringa Bows » Sun Sep 13, 2009 5:28 pm

here ya go Dave,my work area i have to cover all me gear to keep moisture off at night.

Image

Image

Image

Image

Image

Image

Image

Image

this shed is my trophy room and where i do my final work to my bows.
Image

Post Reply